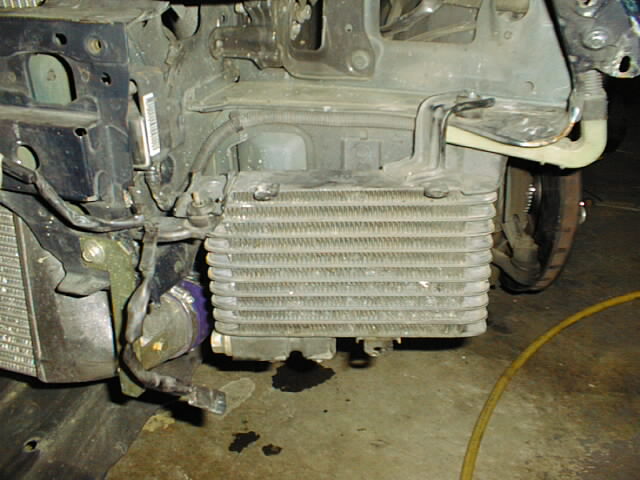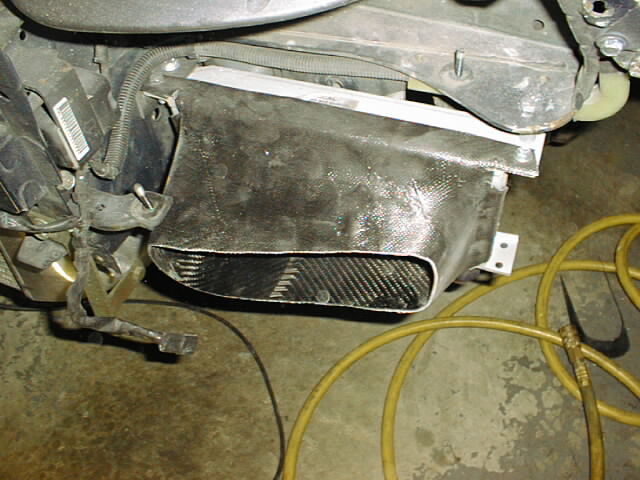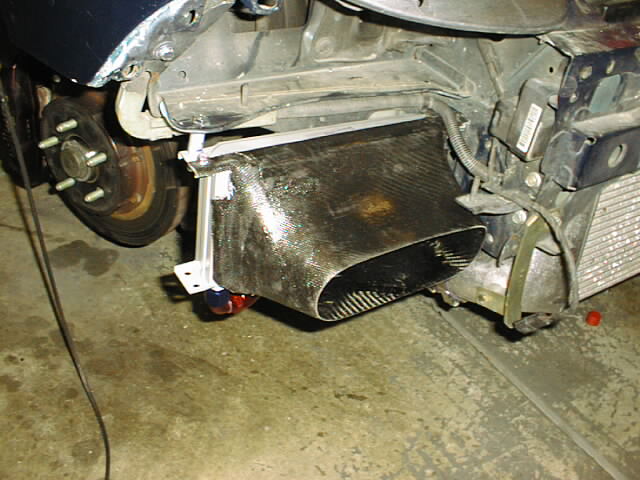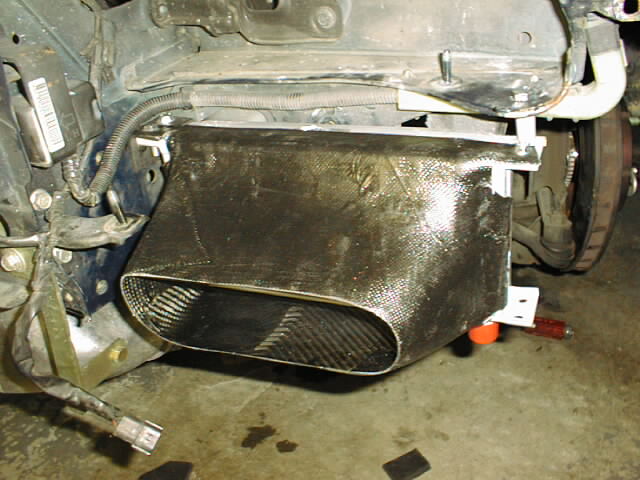

Ed.'s note: I edited Max's post to contain only install-related content. His original post also included review of the kit. This is posted under the Oil Cooler page. --Steve
Date: Thu, 30 Sep 1999 22:20:17 -0700,BR> From: Max Cooper (max@maxcooper.com)
WHAT IS INCLUDED?
HOW HARD IS IT TO INSTALL?
It took longer to install than I would have guessed. However, no part of the installation was particularly difficult; there is just a lot to do. You have to remove the power steering and A/C compressor to get the stock hardpipe out from under the bracket that holds these accessories to the engine. You do not have to remove the front clip or anything, though, which is nice.
Plan on about six to eight hours. And you'll need an AN wrench, fresh oil and an oil filter to complete the job.
The installation instructions are available online (http://www.crookedwillow.com/page15.html), but I'll include some additional info here.
Our first sticking point was in removing the power steering pulley. You need to hold the pulley so you can loosen the fastener. The Mazda SST would make this a whole lot easier. We ended up using a box end wrench on the fastener, a drill bit and a screwdriver bit in the holes on the pulley, and the handle from a jack wedged against the frame. The trick is to keep the jack handle (or whatever you find to use) close to the pulley. Ours wasn't close enough on one attempt and the pulley cracked around the hole, but not bad enough to require replacement.
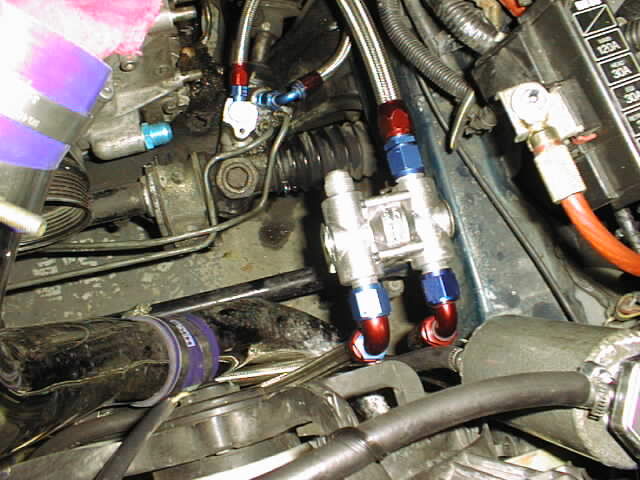
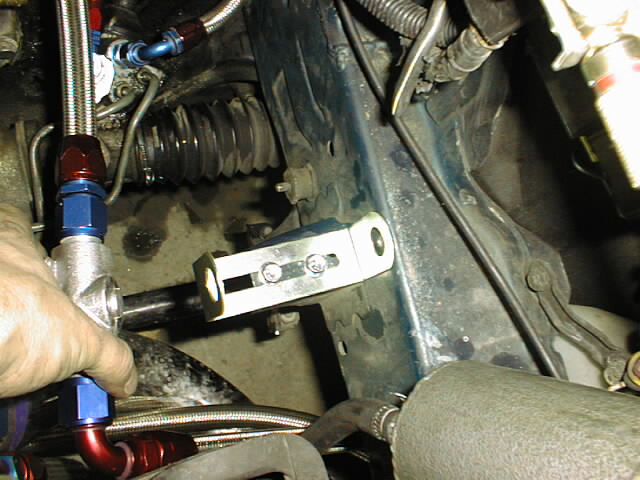
The next problem was that one of the power steering or AC lines interfered with the bracket that holds the thermostat in place. It is pretty well nested in where it sits, and is connected securely to the engine through one of the swivel fittings, so we left it resting in place. I think it is pretty safe as it is, so I don't really intend to seek a better mounting solution. Duane (of CWC) said he will probably rework the mount to eliminate the interference problem on future kits.
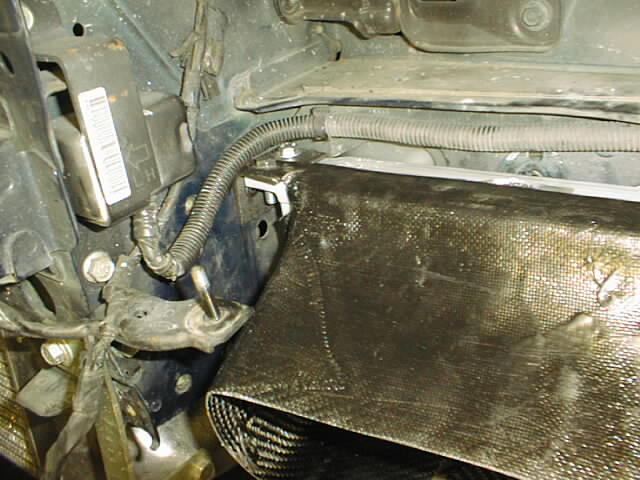
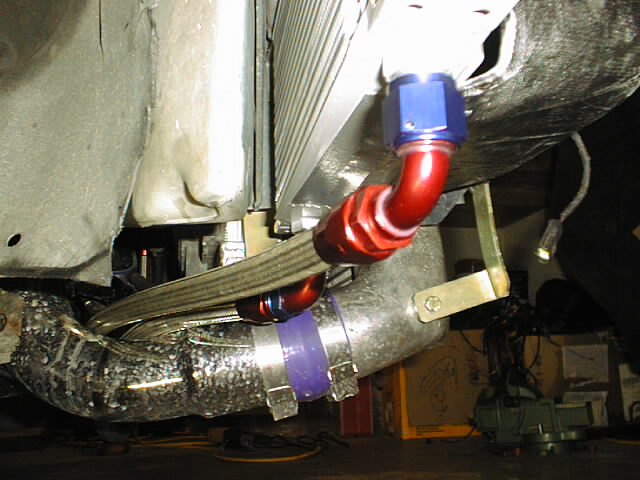
The last little snafu was discovered upon reassembly. The baffle that slips into the back of the radiator fan assembly from my Pettit intake blocks the path of one of the oil hoses. I don't think this would be a problem with the stock intake, but it seems like many of the aftermarket intake systems would have the same problem. The solution we came up with was to reroute the hose in front of the radiator. We drilled some holes in the sheet metal tabs that curl up in front of the radiator at the bottom and attached some of the included hose clamps to keep the oil hose in place. Because of this routing, we also had to cut some plastic at the side of the belly pan to accommodate the hose. I think Duane will make that hose a little longer in future kits so there will be enough slack to accommodate an aftermarket intake and route the hose behind the radiator as originally planned.
One thing to be mindful of is that the braided lines are likely to damage things they contact through vibration. A section of heater hose should be cut up an attached to the braided hose at these points with cable ties. There a just a couple of spots, but this should be done.
Once it was all back together, we filled the engine with oil and watched for leaks. We had forgotten to tighten one of the fittings after the hose re-route and got a leak that was easily fixed with a little tightening. Since then, the fittings have stayed dry. It seems the AN fittings make for a leak-free system without requiring any teflon tape or other special attention (though anti-sieze is a good idea, as always). Nice.
HOW MUCH DOES IT COST AND WHERE CAN I GET IT?
Order directly from Crooked Willow Composites using the contact info on their website (http://www.crookedwillow.com/). Current pricing is available online, but it was $795 for a complete dual kit, $595 to simply add a second cooler, or $495 to replace just the single cooler at the time of this writing.
_________________
Date: April 17, 2003
From: James Forbis
No write-up, but some photos:
